

ROVER P4 -110 Wiring Challenges
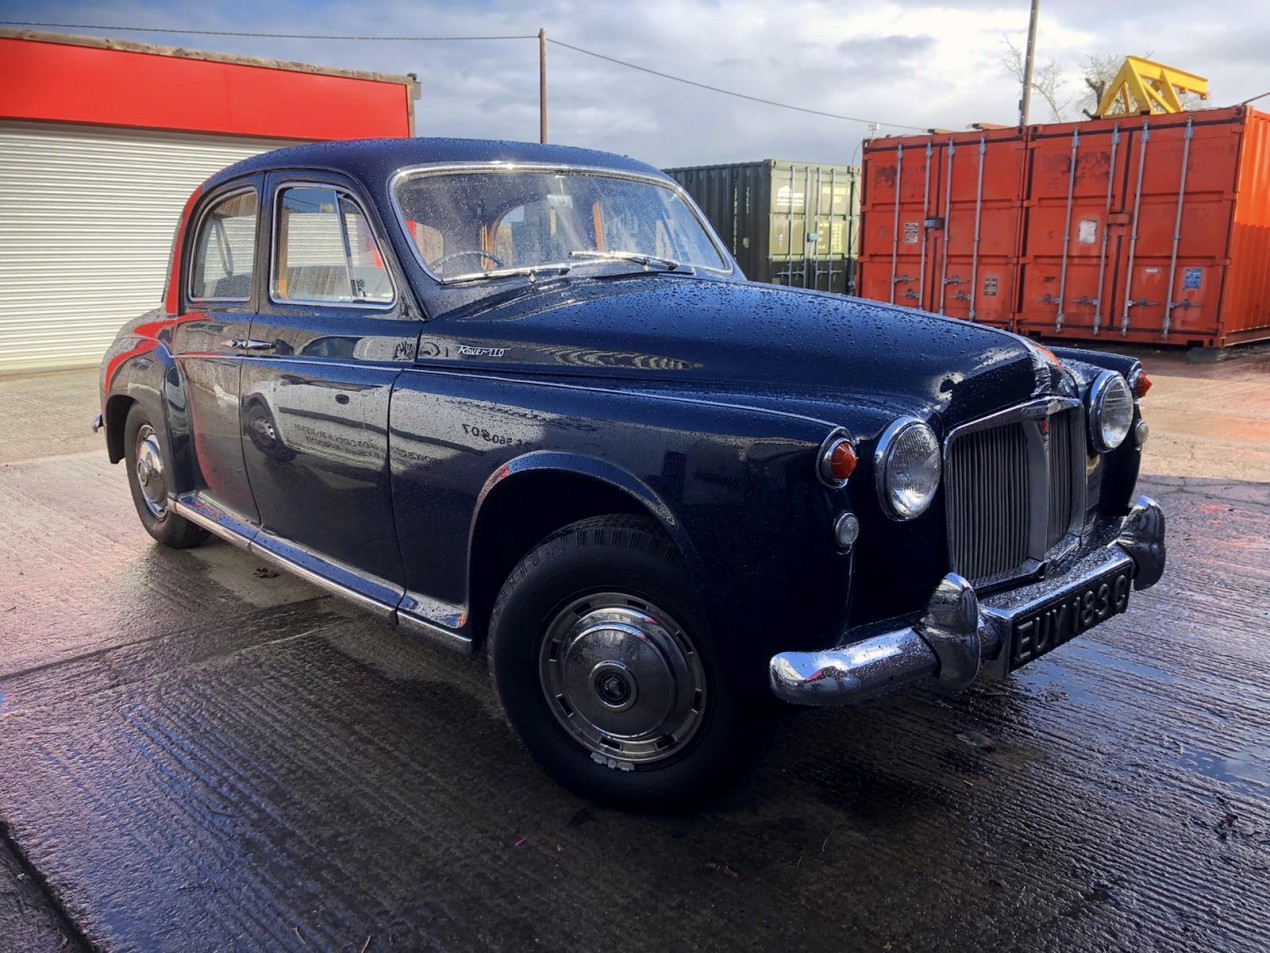
A lovely 1960s Rover P4 navy blue arrived in the workshop from a local Gent. This Rover P4 110 wiring challenges was mainly from inherent electrical faults and as our customer put it “sort out bodges done by previous owners of my Rover P4”.
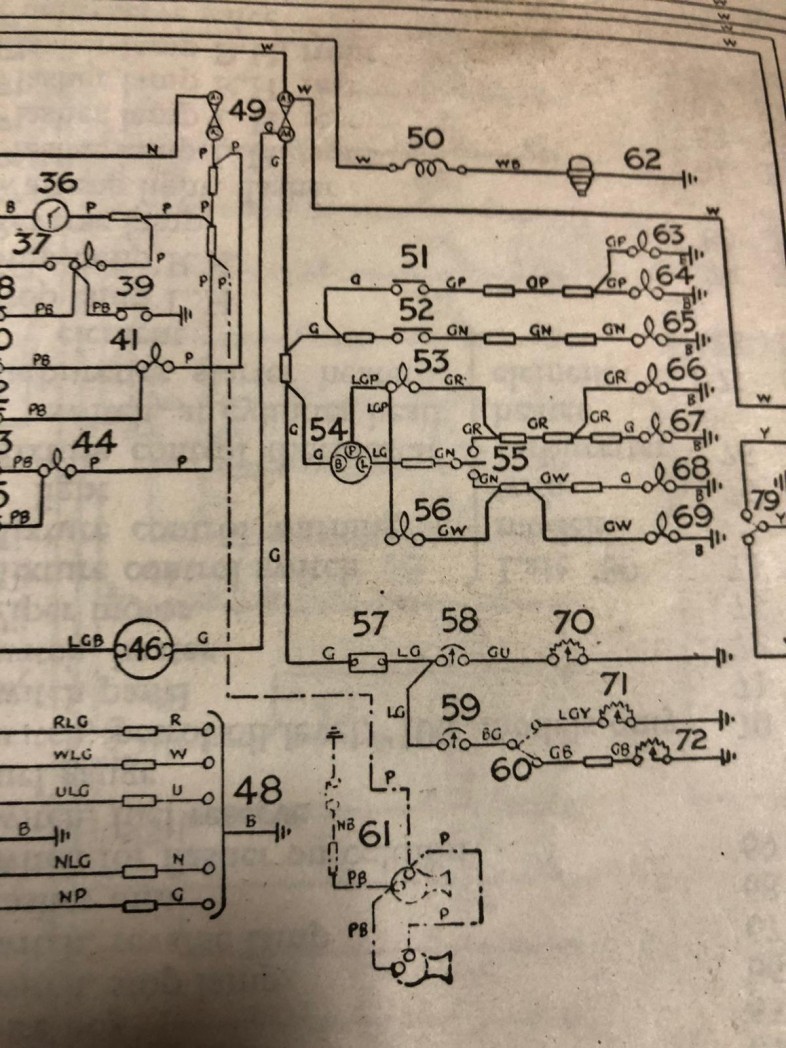
We identified that the first job on the Rover P4 was to trace through the lighting circuit and check thoroughly the condition of the Rover P4’s cables and connections. We then focussed on the light switches and their correct connection as per the Rover P4 wiring diagram.
This process led us to the realisation that either the Rover P4’s side light or its parking light switch did not work – after further test, the parking light side of the switch did transpire to work just fine.
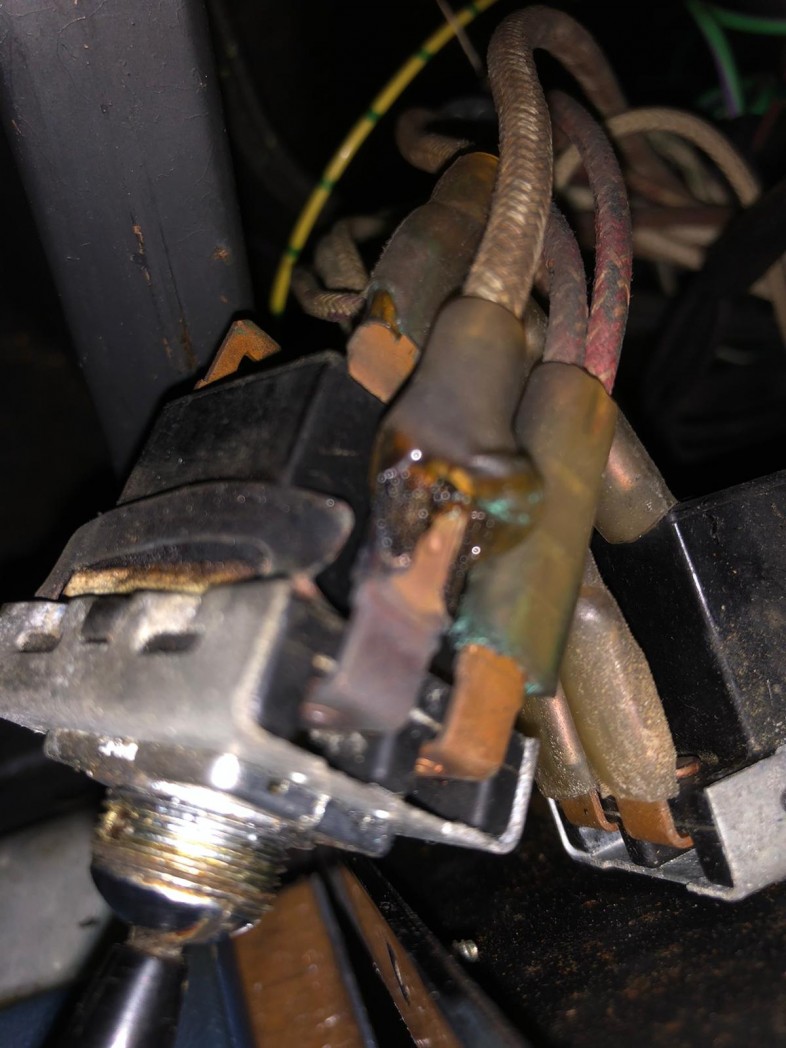
So, the Rovers switch was removed so we could inspect and test it, the connections showed signs of overheating. We tried to source a new switch, however only second-hand switches were available, and there was no guarantee that they would be any better than the existing one.
The first option was to clean the Rover’s switch externally using contact cleaner, so all the contacts were thoroughly cleaned then tested, and once cleaned the switch was refitted.
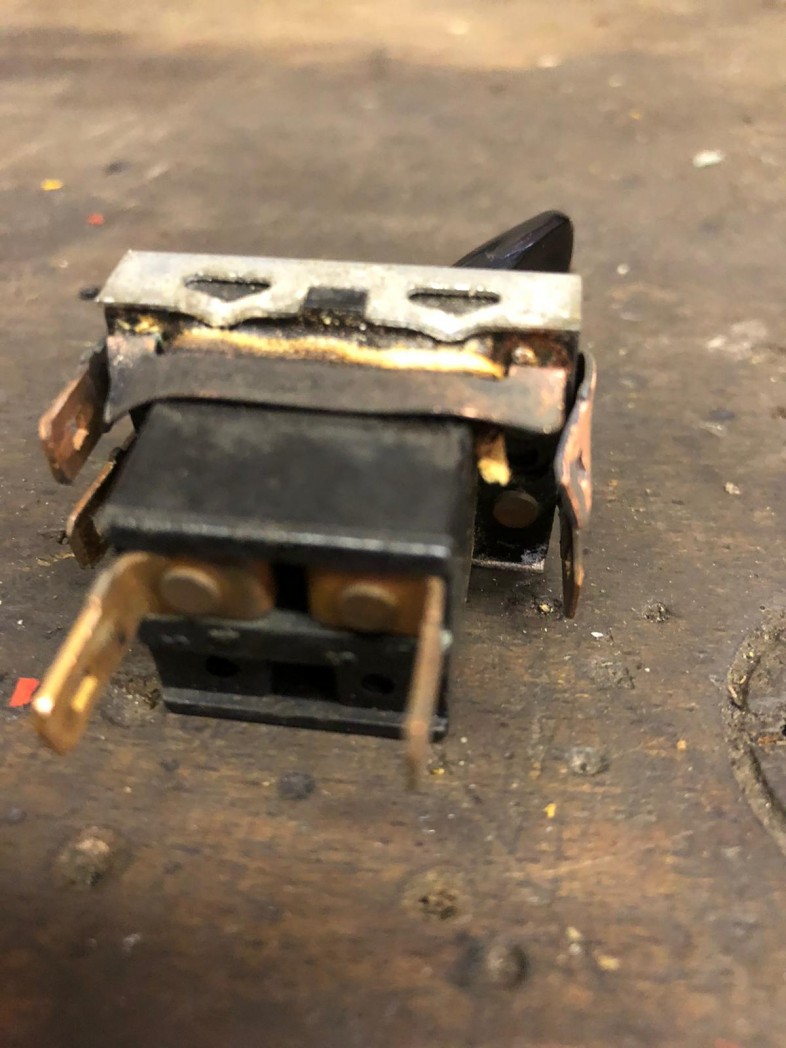
During testing the Rover’s switch worked initially but was not reliable so the switch was removed again, and this time stripped internally for examination. On closer look, we found that part of the switch had melted internally and was beyond repair.
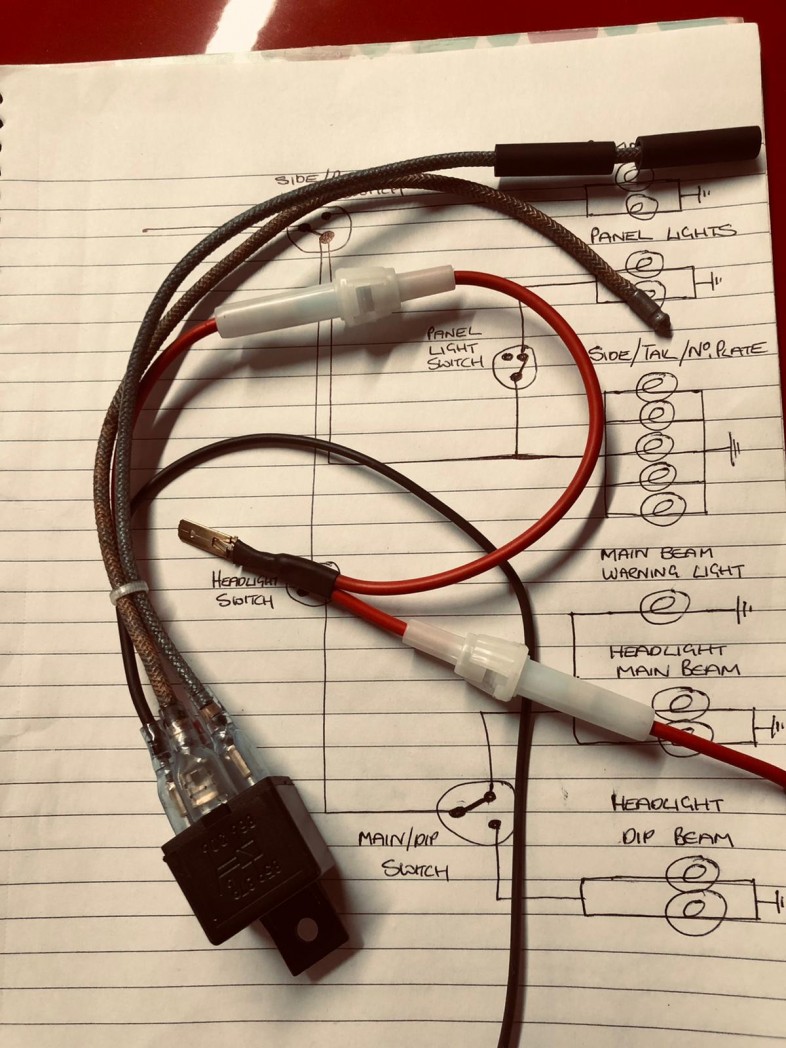
A new switch as close to the original as possible was sourced: its switching positions were the same, but the internal connections were different. Thus, we decided to make a wiring loom in order for the new switch to operate in the same way as the original one. This work included an inline fuse to the feed wire.
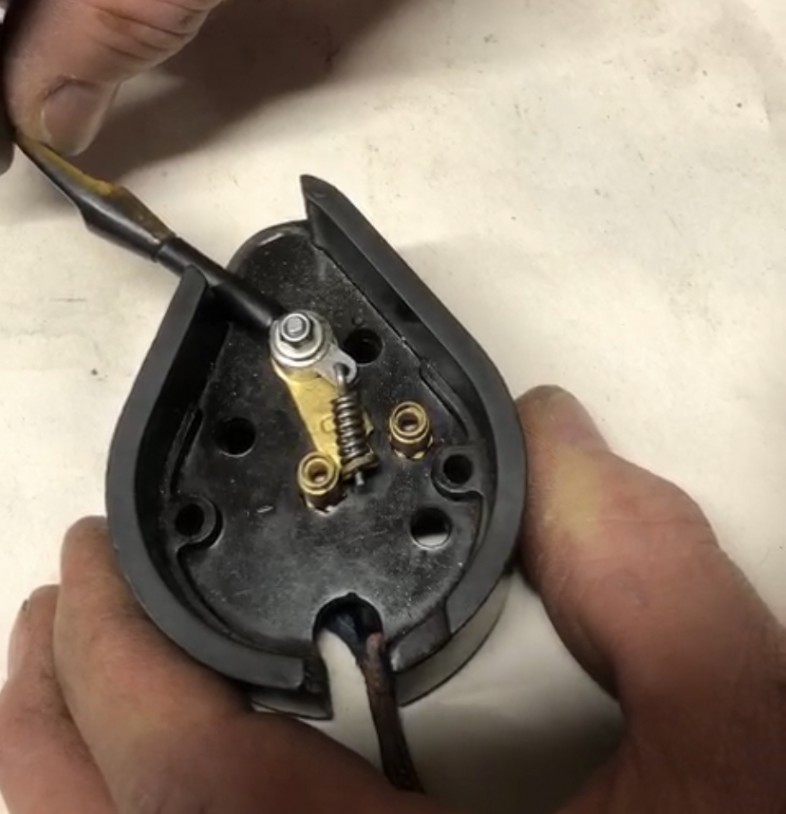
Next was the Rover P4’s headlight switch which operated sporadically, so it was removed. The switch operated to the off position but did not always operate to the on position. Again, after research, no new switch was available, and we set about cleaning the switch and contacts along with cleaning and lubricating the moving parts, then tested the Rover’s switch again. The switch still did not work correctly so a modification was required.
We drilled a switch pivot post and tapped to fit an M3 threaded stud with a Nyloc nut to adjust the tension on the switch pivot (see video) – when the switch was refitted, to our delight it worked perfectly.
The headlight switch was failing as it had overheated due to bad contact. We realised that the previously identified sidelight/parking light switch fault had occurred due to overheating caused by the faulty headlight switch. Fitting a relay between the headlight switch and dip/main beam switch reduced the load on the headlight switch from ten amps to less than half an amp. This also reduced the load on the sidelight/parking light switch by the same amount.
We then made a wiring loom with relay and inline fuse to fit behind the instrument panel and connected to the original wiring. When we checked the flasher relay, we discovered that a modern Bosch flasher relay had been fitted. We replaced this with the correct signal stat 180 flasher relay and adapted it to suit the Rover’s mounting and wiring.
The customer had requested a battery isolator, so we fitted a Lucas Butterfly style battery isolator switch, and made and fitted new battery cables, both from chassis to switch and also from switch to battery.
Next was the heater and wiper wiring where a replacement non original type switch had been fitted. We removed and tested the switch, made an adapter wiring loom, and fitted it to the original wiring connectors.
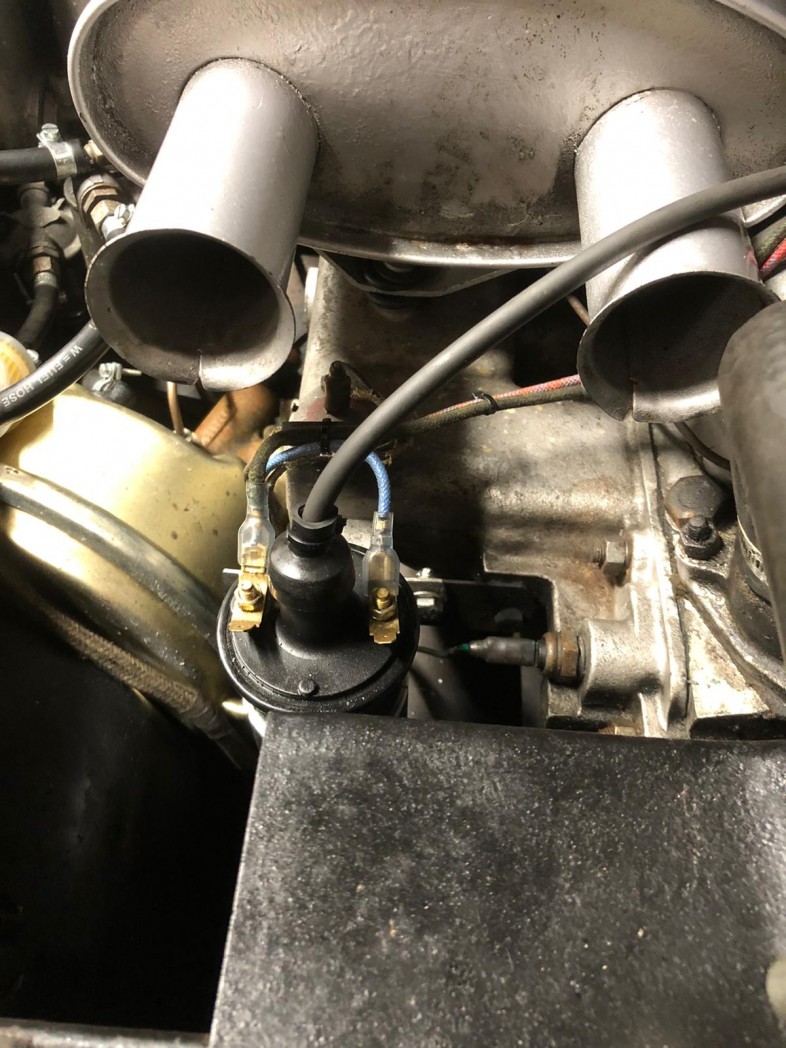
Finally, we tidied up the left-hand front light wiring on the inner wing, remove an old scotch lock connector and fitted the correct earth terminal, tidied up the right-hand front lights wiring on the inner wing along with tidying up the wiring to the ignition coil and connected the unused warning light on the dashboard as a side light warning light.
Having successfully resolved all these wiring issues on the customer’s Rover P4, we are certainly ready to take on the next electrical challenge. Bring it on.
Location
Southwick, BA14 9NB